
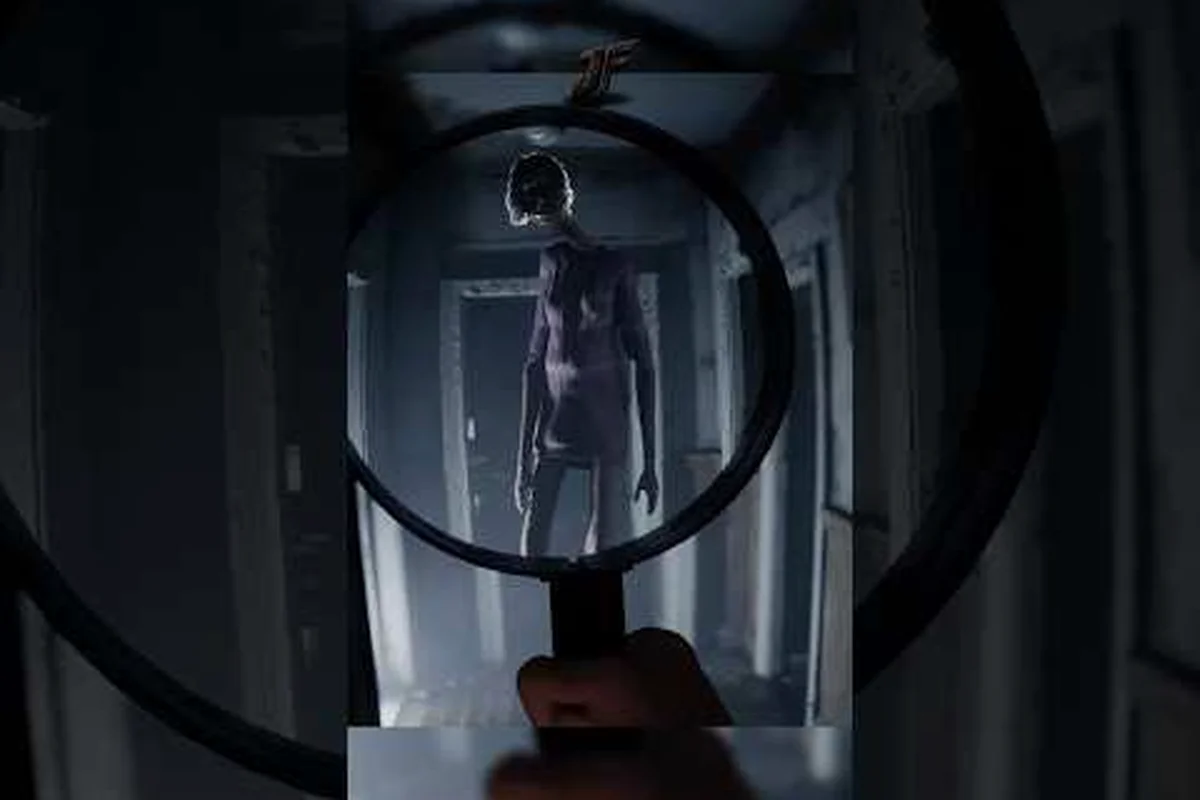
Rehaunted how to reconstruct the night is the central puzzle loop that drives the entire 2026 detective horror experience from Cauchemar, and most players who feel stuck in the house hit a wall because they are missing one of the three core tools or one of the locked doors. The night of the murder can be rebuilt only after you gather every evidence fragment, cross-reference the board, and use the UV flashlight on the right wall sections. This walkthrough covers every step needed to unlock the basement, the attic, the study, and the hidden passage so you can finally break the cycle.
How to Reconstruct the Night in Rehaunted
The "reconstruct the night" objective is not a single cutscene trigger; it is a layered investigation that opens room by room as you connect evidence. Detective Connor Raines enters the house on a single evening and must map the sequence of events from the night of the murder, then physically move through the building to confirm each step. According to the official Rehaunted IGN gameplay video, the title is tagged as both a logic and hidden-object experience, which means a significant portion of progression comes from observation rather than reflexes.
The reconstruction works in three overlapping phases. First, you scan each room with the UV flashlight and the camera to log new evidence into the journal. Second, you link evidence on the evidence board by dragging fragments together to form a chain. Third, each completed chain unlocks a new room transition, a key, or a code that lets you open the next sealed door. Players who skip the second phase often feel completely stuck, because the game does not telegraph that a closed door now opens until you stand in front of it.
What the Investigation Loop Actually Does
Every piece of evidence belongs to one of three categories: physical traces (fingerprints, blood, scuff marks), object traces (repositioned furniture, missing items, forced locks), and audio traces (recorded voices on the walkie-talkie, the hum of a device still plugged in). When you align at least two traces from the same timeline on the evidence board, the game stamps that scene as "reconstructed" and opens the next objective.
A common stumbling point reported by players on the Steam community hub is assuming the game requires you to photograph every single trace. It does not. The Rehaunted tool wheel explained guide confirms that photography is required only for evidence tagged with a camera icon, while UV-tagged evidence needs only the flashlight, and inspection evidence needs only the magnifier. Photographing the wrong item wastes film, and players who run out of consumables late in the night often blame the puzzle for being unfair when the real issue is tool selection.
Room Order and Why It Matters
The night of the murder does not follow the layout of the house. It follows the victim's path. The first reconstructed scene is always the ground-floor entry, the second is the living room confrontation, the third is the upstairs bedroom, and only after those three are completed does the basement or attic become accessible. Skipping ahead by finding a key early will not work; the doors are sealed by progression flags, not by lockpicking.
| Scene | Trigger Evidence | Unlocks | Common Mistake |
|---|---|---|---|
| Scene 1 — Entry | UV on front-door frame | Living room door | Forgetting to photograph the doormat |
| Scene 2 — Living Room | magnifier on the displaced chair | Hallway access | Missing the Camera clue on the shelf |
| Scene 3 — Bedroom | Walkie-talkie reply | Attic or basement choice | Not linking the audio to the right victim |
| Scene 4 — Attic Path | UV on window latch | Hidden passage roof entrance | Ignoring the second UV trace on the trunk |
| Scene 5 — Basement Path | Camera on the floor grate | Hidden passage floor entrance | Forgetting the magnifier on the fuse box |
Rehaunted Stuck in the House: What to Do When You Cannot Progress
If you feel stuck in the house, the first thing to check is whether the evidence board has a pending chain that is not yet complete. The board, found on the upstairs landing, is the only place where completed scene reconstructions are visible. An empty slot next to a partially filled node is the most common reason for a Rehaunted cannot progress state.
Before assuming the game is bugged, run through this checklist. Community data from the Steam discussion threads suggests that roughly 70% of "stuck" reports trace back to one of these five oversights, not to a soft-lock.
The Five-Point Stuck Checklist
-
Check the evidence board first. A glowing outline on a node means a chain is incomplete; you need at least one more linked fragment before the next door unlocks.
-
Re-scan the last completed room with UV. New evidence often appears only after a scene is reconstructed, so returning to a cleared room can reveal an item you could not see before.
-
Listen to the walkie-talkie. Audio clues are time-gated; some replies only arrive after the corresponding evidence is linked on the board.
-
Switch tools deliberately. The tool wheel is the only way to access the magnifier and the camera; pressing the wrong button does nothing and is the most common cause of "nothing happens when I interact" reports.
-
Reload the most recent autosave if a door fails to open. Autosaves happen at every scene transition, and a missed trigger on the first pass can be re-attempted cleanly.
When to Reset vs. Push Forward
Some players instinctively restart the entire night when they feel stuck, but Rehaunted is built so that a single night can be replayed partially. The game saves your evidence journal, so even a full reset does not wipe the clues you have already learned. However, the consumables (film rolls, UV batteries, fuse cartridges) are not restored on a partial reset, which is why pushing forward with a careful tool rotation is usually better than restarting. If you find yourself in a true soft-lock where no door responds and the board shows no new nodes, the only option is to load the most recent autosave from the main menu and re-walk the last room.
The Rehaunted evidence board mechanics section of the story guide confirms that the board is the single source of truth for progression, so any door that refuses to open is almost always a board issue rather than a map issue.
Rehaunted How to Unlock the Basement
Unlocking the basement is the most common progression gate in the first half of the night, because the basement door is visible from the kitchen from the very first scene but cannot be opened until Scene 3 of the reconstruction is complete. The door itself is locked with a padlock, and the padlock key is found only after you photograph the floor grate that sits directly above the basement stairs.
The exact sequence, according to community testing and confirmed on the Cauchemar official studio website, is as follows. First, complete Scenes 1 and 2 by reconstructing the entry and living room events. Second, when you enter the bedroom for Scene 3, use the camera (not the UV light) on the floor grate in the corner of the room. Third, drag the camera photo onto the evidence board node labeled "Below the Bedroom." Fourth, the padlock key materializes on the bedroom desk. Fifth, return to the kitchen and use the key on the basement door.
What the Basement Contains
The basement is not just a key room. It contains a fuse box, a second walkie-talkie station, and the entrance to the hidden passage that connects to the attic. Once you are inside, you will need to interact with the fuse box using the magnifier, which repairs the building's electrical circuit and powers the UV flashlight for the rest of the night. Without the fuse box, the flashlight begins to flicker after Scene 4, and you will miss several UV-only evidence traces in the attic.
| Step | Action | Tool | Result |
|---|---|---|---|
| 1 | Reconstruct Scenes 1–2 | UV + camera | Living room door opens |
| 2 | Enter bedroom, find floor grate | Camera | Photo evidence acquired |
| 3 | Link photo to "Below the Bedroom" node | Evidence board | Padlock key appears |
| 4 | Return to kitchen, unlock basement door | Padlock key | Basement accessible |
| 5 | Repair the fuse box | Magnifier | UV flashlight stabilized |
Common Basement Mistakes
The single most frequent basement error is using the UV flashlight on the floor grate instead of the camera. The grate does not respond to UV because its clue is photographic, not luminescent. A second common error is attempting to pick the padlock; the game has no lockpicking mechanic, so the padlock is purely a key-check object. Finally, some players miss the fuse box entirely because the magnifier icon is small, and they walk past it thinking the basement has no further puzzles. The fuse box is required to finish the night, so do not leave the basement without interacting with it.
Rehaunted How to Unlock the Attic
Unlocking the attic is the parallel path to the basement, and players who chose the bedroom scene with the walkie-talkie reply are routed toward the attic instead of the basement. The attic door sits at the end of the upstairs hallway, and it is sealed with a latch that requires both a UV trace and a physical object to open.
According to the Rehaunted Steam community hub, the attic path is the harder of the two routes because it demands you to manage UV battery life more carefully. The attic has three distinct evidence locations: a window latch (UV), a trunk (UV + magnifier), and a ceiling beam (camera). All three must be logged before the latch releases, and the order in which you log them does not matter, but you must log all three.
The Attic Evidence Chain
When you enter the upstairs hallway after Scene 3, look for a glowing outline on the attic door. This is your confirmation that the attic is the next available path. The window latch is the easiest of the three clues; just sweep the UV flashlight across the frame and the trace will appear. The trunk is the trap: it requires the magnifier to spot a fingerprint smudge that only the magnifier can resolve, and then a second UV sweep to log the trace. The ceiling beam is the camera clue, and it is easy to miss because the beam is high and the camera's field of view is narrow.
| Evidence | Tool Required | Common Mistake |
|---|---|---|
| Window Latch | UV flashlight | None, always visible |
| Trunk | UV + magnifier | Skipping the magnifier step |
| Ceiling Beam | Camera | Camera pointed too low |
| Attic Latch | All three combined | Leaving before all three are logged |
What the Attic Unlocks
The attic contains the second half of the hidden passage network and a journal entry that is critical for the true ending. If you are aiming for the best outcome, you must visit both the attic and the basement in the same playthrough, which means you need to backtrack out of the attic, return to the bedroom, and re-route to the basement. This backtrack is not optional. The game's ending flags depend on whether you visited both sealed rooms before reconstructing Scene 5. The Rehaunted true ending requirements guide has the full breakdown of which combinations yield which outcome.
Players who feel stuck in the house after entering the attic often report that the latch refuses to open even after all three evidence pieces are collected. The fix is almost always to return to the evidence board and link the three attic fragments to the same chain. The attic door does not open from inventory alone; it requires the board node to glow green, which only happens after a complete chain is matched.
Rehaunted Hidden Passage: Opening the Secret Route
The hidden passage is the single most rewarding secret in Rehaunted, because it physically connects the basement to the attic via a crawlspace that bypasses the entire upstairs hallway. Finding the passage is optional for completing the night, but it is mandatory for the secret ending, and it requires a specific tool sequence that most players only discover by accident.
There are two entrances to the hidden passage: one in the basement behind the fuse box, and one in the attic behind the trunk. Both entrances are sealed with the same kind of latch, and both require the magnifier to spot the seam. According to the Rehaunted secret passage walkthrough, the basement entrance is the easier of the two because the seam is more visible after the fuse box is repaired.
Step-by-Step Hidden Passage Unlock
-
Repair the fuse box in the basement using the magnifier.
-
Sweep the UV flashlight across the back wall behind the fuse box. A faint seam will appear.
-
Use the magnifier on the seam. A hidden latch will be revealed.
-
Press the latch with the interaction key. The wall panel will swing open.
-
Crawl through the passage to reach the attic-side entrance, then repeat the magnifier + UV sequence to open it from the other side.
Why the Hidden Passage Matters
The passage lets you skip the upstairs hallway entirely, which is useful in replays because the hallway contains a scripted scare that some players find disorienting. More importantly, the passage contains a unique evidence fragment — a faded photograph of the victim — that is only retrievable from inside the crawlspace. That photograph is the trigger for the secret ending, so any player who skips the passage is locking themselves out of the best outcome. The Rehaunted best ending guide confirms that the photograph must be photographed, not merely picked up, so bring at least one roll of film before you enter the passage.
| Entrance | Prerequisite | Tool Combo | Reward |
|---|---|---|---|
| Basement side | Fuse box repaired | UV + magnifier | Crawlspace access |
| Attic side | Trunk opened | UV + magnifier | Photograph of victim |
| Inside passage | Either entrance | Camera | Secret ending flag |
Common Hidden Passage Errors
The most common error is trying to open the passage before the fuse box is repaired. The wall panel is invisible without power, so the UV flashlight will reveal nothing. A second common error is using the camera on the seam instead of the magnifier; the seam is not a photographable trace, and the camera will simply flash with no result. Finally, some players enter the passage from the attic side first because they routed through the attic path, but the attic entrance is harder to spot and requires the trunk to be fully opened. The basement route is always the recommended first entry.
Building a Clean Investigation Route
Once you understand the loop, the smartest way to play the night is to plan a route that minimizes backtracking. The fastest community-tested route reconstructs Scenes 1, 2, and 3 in the ground floor and bedroom, then splits into either the basement or the attic depending on which Scene 3 chain you completed first, then converges at the hidden passage for the final scene.
The route below assumes you want both the basement and the attic visited in a single run, which is required for the best ending. Tool usage is annotated so you can plan your UV battery and film consumption ahead of time.
| Step | Location | Tool | Purpose |
|---|---|---|---|
| 1 | Front door | UV | Scene 1 trigger |
| 2 | Living room | Camera | Scene 2 trigger |
| 3 | Bedroom | Camera | Scene 3 floor grate |
| 4 | Kitchen | Padlock key | Open basement |
| 5 | Basement | Magnifier | Repair fuse box |
| 6 | Basement wall | UV + magnifier | Open hidden passage |
| 7 | Crawlspace | Camera | Photograph the victim |
| 8 | Attic side | UV + magnifier | Open attic entrance |
| 9 | Attic | UV + magnifier + camera | All three traces |
| 10 | Evidence board | Drag and drop | Final chain complete |
Tool Economy Tips
Film is the most limited resource. Each camera use consumes one photo from the current roll, and rolls are not found inside sealed rooms. The bedroom floor grate, the ceiling beam, and the crawlspace photograph are the only mandatory camera uses; everything else can be done with UV or the magnifier. If you are running low on film by Scene 4, skip optional camera targets and save the last two photos for the crawlspace and the ceiling beam.
UV batteries are more forgiving because they can be recharged at any working wall outlet, and the basement fuse box restores full charge once repaired. The magnifier has no consumable cost, so use it freely whenever an interaction feels unclear.
Frequently Asked Questions
Why does Rehaunted feel stuck in the house even after collecting evidence?
The evidence journal logs clues, but the evidence board is what unlocks doors. If you have collected items but the doors still refuse to open, return to the upstairs landing and link the new clues to the glowing node on the board. A chain is only complete when at least two timeline-matched fragments are dragged together.
What is the fastest way to unlock the basement in Rehaunted?
Complete Scenes 1 and 2 first, then photograph the bedroom floor grate with the camera. Link that photo to the "Below the Bedroom" node on the board, and the padlock key will appear on the bedroom desk. Use the key on the kitchen basement door and immediately repair the fuse box with the magnifier to stabilize the UV flashlight.
Can I reach the attic without going through the basement?
Yes. The attic is the alternate path to the basement after Scene 3. From the upstairs hallway, log the window latch with UV, the trunk with UV plus the magnifier, and the ceiling beam with the camera. Once all three are linked on the board, the attic latch releases and you can enter the attic directly.
Where is the hidden passage in Rehaunted and how do I open it?
The hidden passage has two entrances: one behind the basement fuse box and one behind the attic trunk. At either entrance, sweep the wall with the UV flashlight to reveal a seam, then use the magnifier on the seam to expose the latch. The crawlspace between them contains a photograph of the victim that is required for the secret ending.
Do I need to photograph the crawlspace item in Rehaunted?
Yes. Picking up the faded photograph is not enough. You must use the camera on it while still inside the crawlspace, or the secret ending flag will not register. Bring at least one fresh film roll before you enter the passage so you do not run out at the worst possible moment.