
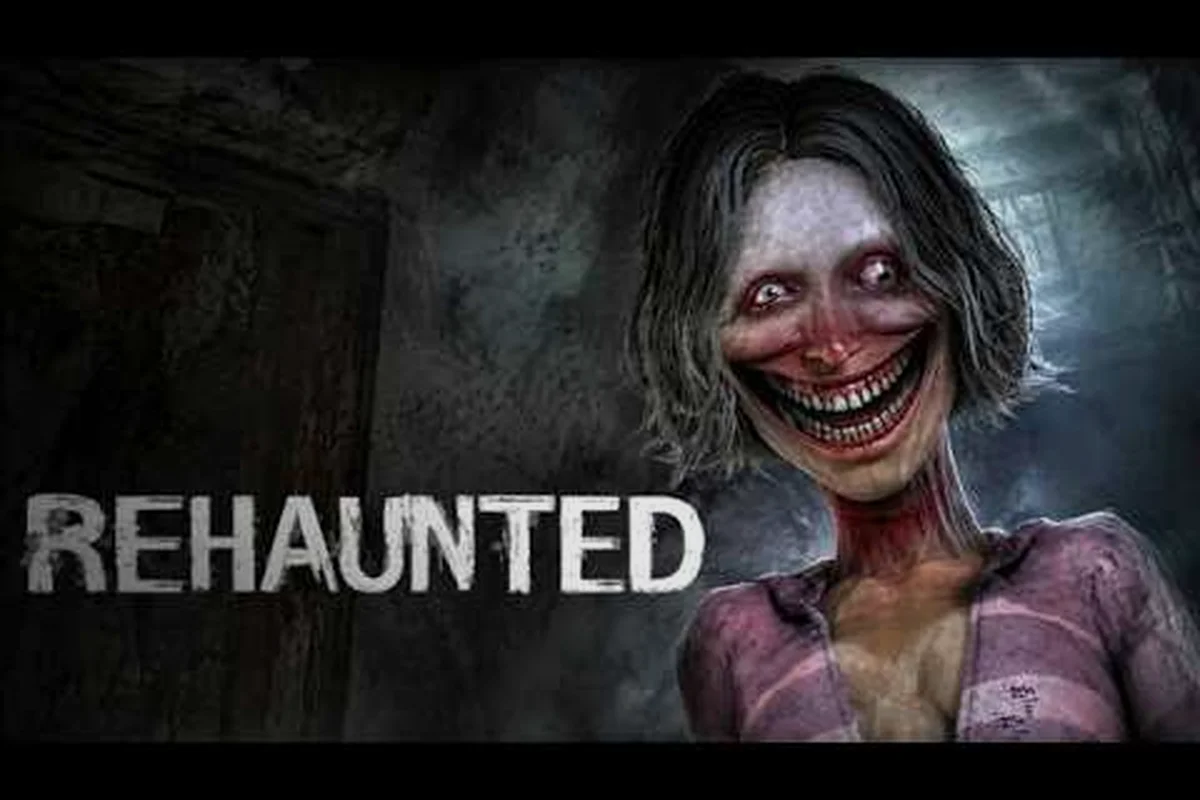
Getting stuck on a lock or a coded keypad inside the haunted house is the single most common reason first-time players abandon a Rehaunted run, because every locked door, dial, and terminal in the game is gated by an evidence answer you have to earn first. This Rehaunted puzzle solutions guide walks you through every deduction step, clue input, and answer the house throws at you, so progress never stalls for long.
Rehaunted is a first-person psychological detective horror game developed and published by French studio Cauchemar, and according to the Rehaunted community hub on Steam store page, players control detective Connor Raines as he investigates the death of a young woman inside a single house using a UV flashlight, magnifier, camera, walkie-talkie, and evidence board. The Steam tags include Logic and Hidden Object, which tells you up front that deduction is the engine of progression, not reflex. Every puzzle feeds the evidence board, and every evidence board entry feeds a puzzle, so the right way to play is to think of the whole run as one long Rehaunted puzzle guide rather than a list of disconnected brainteasers.
The Puzzle Logic That Holds Rehaunted Together
Rehaunted is designed so that almost every locked surface in the house has a clue hidden nearby, and the clue only becomes legible after you have run the right tool over it. This is the design principle behind every Rehaunted puzzle solution: do not look for the answer, look for the evidence that tells you the answer exists. When you internalize that loop, the game stops feeling like a wall of locks and starts feeling like a chain of deductions, which is why community veterans describe Rehaunted all puzzle solutions as more of a reading exercise than a reflex test.
Three Tool Families Drive Every Deduction
Connor's kit is small, but each tool maps to a specific type of clue, and once you know which tool reads which clue family, the Rehaunted all puzzles checklist becomes much shorter than it first appears.
| Tool | Reads | Typical Clue Output | Common Puzzle Hook |
|---|---|---|---|
| UV Flashlight | Fluids, fingerprints, hidden ink | Numbers, letters, hand outlines | Safe code, keypad, door code |
| Magnifier | Fine print, scratch marks, micro-text | Single digits, partial words, dates | Clock puzzle, phone password |
| Camera | Wide-scene evidence, photos of boards | Saved photo, board pin | Contradiction puzzles, evidence board logic |
| Walkie-Talkie | Dispatcher hints, radio chatter | Mid-mission hints and confirmations | Confirms when evidence matches a puzzle gate |
The Walkie-Talkie deserves a callout because it does not directly solve puzzles, but it tells you when you have enough evidence to attempt a lock, and that confirmation prevents wasted attempts on locks you cannot open yet. A common beginner mistake is to treat the radio as flavor dialogue; in practice, the radio dispatcher is your silent co-solver and is one of the reasons this Rehaunted how to solve puzzles guide is structured around tool families rather than room order.
Evidence Board Logic: How Deductions Chain
The evidence board is the only place in Rehaunted where scattered clues become an answer. Each pin, photo, and note can be linked to another, and once two entries are linked, the board sometimes generates a derived clue (a number, a name, or a partial phrase) that feeds a Rehaunted safe puzzle or keypad directly. Community testing on the official Cauchemar studio website confirms that the board is the single largest source of confirmed puzzle answers in the game, which is why experienced players always finish a sweep before they touch a lock.
| Board Action | What It Produces | Puzzle It Usually Feeds |
|---|---|---|
| Linking a note to a photo | Confirms identity | Hidden door, secret room |
| Linking two fingerprints | Reduces suspect list | Evidence ending, killer reveal |
| Linking a UV reading to a clock face | Produces digits | Safe combination |
| Linking a radio call to a location note | Confirms route | Basement unlock, attic unlock |
For a deeper walkthrough of the safe itself, the how to open the safe in Rehaunted page covers the exact entry sequence and the most common input mistakes that lock first-time players out of the prize room.
House-Wide Puzzle Categories and Their Answer Sources
Rather than memorize every Rehaunted all puzzle solutions answer in isolation, it helps to group locks by the type of evidence that unlocks them. Most of the puzzles in the house fall into six categories, and each category reads from a specific subset of the evidence board.
| Category | Where You Find the Clue | Tool That Reveals It | Example Puzzle |
|---|---|---|---|
| Lock Combinations | Notes, diaries, scratched surfaces | Magnifier, UV | Wall safe, study desk |
| Keypad Codes | Photos, framed documents, blood trails | Camera, UV | Front door, study keypad |
| Clock / Time Puzzles | Stopped clocks, appointment letters | Magnifier | Attic clock, hall clock |
| Password Puzzles | Phones, computers, diaries | Magnifier, Camera | Computer login, phone unlock |
| Wire Puzzles | Junction boxes, fuse panels | Direct interaction | Fuse box, attic wiring |
| Contradiction Puzzles | Evidence board cross-checks | Camera + board | Hidden passage unlock |
The wire puzzles are the one category that does not rely on a hidden clue; instead, they reward pattern recognition, which is why they are often the first thing players complete and the first thing they remember about Rehaunted all puzzle solutions. By contrast, the contradiction puzzles are the most demanding because they require you to have linked evidence correctly on the board before the option even appears, which is why they are usually left for the second half of a run.
Reading the House Before You Read the Lock
A reliable habit that holds up across every Rehaunted puzzle guide is to walk a room with the UV flashlight before you ever try a lock. UV reads fingerprints, residue, and ink that you cannot see with the standard beam, and the majority of missed Rehaunted puzzle solutions on a first run come from skipping a UV pass and then trying to brute-force a combination. Treat the UV pass as part of the puzzle, not a separate chore, and the same habit will save you on harder runs as well.
If you want a more granular, room-by-room breakdown that pairs each puzzle with the specific evidence that solves it, the Rehaunted safe combination walkthrough is a useful companion reference because it documents the exact evidence pins that feed the dial and the order in which the board unlocks each digit.
A Step-By-Step Puzzle-Solving Workflow That Works Every Run
A repeatable loop is more valuable than memorizing individual answers, because the exact arrangement of clues shifts with each run, but the workflow never does. The five-step loop below is what veteran players use to clear Rehaunted all puzzle solutions without ever backtracking more than one room.
| Step | Action | Why It Matters |
|---|---|---|
| 1 | Sweep the room with the UV Flashlight | Reveals hidden digits, fingerprints, residue |
| 2 | Inspect every paper and photo with the Magnifier | Catches partial numbers, scratch marks, fine print |
| 3 | Photograph anything that looks like a clue with the Camera | Saves the clue to the board for cross-referencing |
| 4 | Open the Evidence Board and link new entries | Generates derived clues that feed locks |
| 5 | Confirm with the Walkie-Talkie dispatcher | Verifies you have enough evidence to attempt a lock |
The dispatcher confirmation in step 5 is the single biggest time-saver in the game, because attempting a lock without the right evidence consumes in-game time and can trigger audio cues that raise tension. Players who skip step 5 typically end up attempting each Rehaunted safe puzzle and keypad two or three times before they realize the answer was never in the room to begin with.
The Safe and the Surrounding Riddle
The wall safe is the puzzle that most players associate with the game, and for good reason, because it sits at the intersection of every tool family. You need a UV reading on the safe door (which reveals fingerprints and a partial number), a magnifier pass on a nearby document (which gives you the second digit), and a board link between the two (which gives you the third and fourth digits). Once the board confirms, the dispatcher will hint that the safe is openable, and the dial becomes interactive.
| Safe Component | Clue Source | Tool |
|---|---|---|
| First digit | Fingerprint residue on dial | UV Flashlight |
| Second digit | Diary entry in drawer | Magnifier |
| Third digit | Photo on nearby desk | Camera + board |
| Fourth digit | Dispatcher confirmation | Walkie-Talkie |
The Rehaunted safe code is therefore not a fixed number you can copy from a guide, it is a deduction chain that varies slightly per run, which is why the workflow above matters more than any specific answer. Community testing on the Rehaunted Steam community hub confirms that the four-digit structure is consistent, but the order of the digits shifts based on which evidence you collect first.
Keypad, Door, and Phone Codes
Once you have the safe loop internalized, every other lock in the house collapses to the same pattern: UV + magnifier + camera + board + radio confirmation. The front door keypad, the study door, the attic keypad, and the computer password are all gated by the same chain, which is why the Rehaunted all puzzles experience feels coherent rather than arbitrary. The only meaningful difference is the source of the digits:
| Lock | Primary Source | Secondary Source | Common Mistake |
|---|---|---|---|
| Front door | Photo on porch | UV on porch railing | Trying before radio confirms |
| Study desk | Diary page | UV on book spine | Skipping the magnifier pass |
| Attic keypad | Clock face | Photo of clock | Reading the wrong hand |
| Computer password | Sticky note on monitor | UV on keyboard | Mixing up zero and letter O |
For endings that depend on the deductions you make during the puzzle phase, the Rehaunted all endings page is a useful next stop once you have cleared the lock set, because some endings require specific puzzle answers to be in place before the finale.
Advanced Tactics for Harder Puzzle Tiers
Once you can clear a standard run without backtracking, the next step is to optimize for the harder puzzle tiers that unlock deeper routes and better endings. These are the runs where Rehaunted how to solve puzzles stops being about individual locks and starts being about route planning, save discipline, and tool economy.
Save Discipline for Optional Puzzles
Optional puzzles gate secret areas, hidden evidence, and the deeper ending branches, and almost all of them are missable if you push past them. The fix is mechanical: every time you enter a new room, do a single quick UV sweep, then immediately save. If you later realize you missed a clue, you reload instead of restarting the run. This is the single biggest time-saver reported by players chasing the Rehaunted all achievements milestone, which requires several optional puzzle clears in a single playthrough.
| Save Trigger | Why It Matters | What You Risk If You Skip |
|---|---|---|
| Entering a new room | Locks optional clues behind progress | Missed safe code digit |
| After a board link | Board state is hard to undo | Lost derived clue |
| After a radio confirmation | Confirms puzzle gates | Wasted lock attempts |
| Before a boss event | Prevents soft-locks on missable puzzles | Full restart |
Tool Economy and the UV Battery Problem
The UV flashlight is the single most important tool in the game, and the most common "tool not working" complaint in community threads is a depleted UV battery. You can check the battery on the tool wheel, and the game will warn you with a brief flicker when the charge drops below 25 percent, but the warning is easy to miss in tense rooms. The fix is to treat the UV as a precision tool rather than a default beam: walk with the standard flashlight, then swap to UV only when you are about to inspect a specific surface.
| Tool | Best Use Pattern | Battery Signal |
|---|---|---|
| Standard Flashlight | Walking, broad sweeps | None |
| UV Flashlight | Targeted surfaces only | Flicker at 25 percent |
| Magnifier | Inspect after UV pass | No battery |
| Camera | Photograph after inspection | Photo count limit |
| Walkie-Talkie | Confirm after each link | Dialogue only |
Combining Tools for Compound Deductions
The hardest puzzles in the game are compound, which means they require a tool output, a board link, and a radio confirmation in a specific order. For example, the hidden passage puzzle needs a UV reading on a hallway panel, a magnifier pass on a journal page, a photo of the journal, and a board link between the UV reading and the photo, all before the walkie-talkie will confirm the route. The Rehaunted ending walkthrough page documents how the compound puzzles feed the deeper endings, and it is worth pairing that reference with the workflow above so you can plan a single clean run that satisfies both puzzle and ending goals.
Putting It All Together: A Clean Rehaunted Puzzle Run
The difference between a frustrating first run and a confident 100 percent run is almost always workflow, not intelligence. Players who treat the house as a chain of deductions, who save before every optional puzzle, and who use the radio dispatcher as a silent co-solver will clear Rehaunted all puzzle solutions in roughly five to seven hours, with optional puzzles adding another two to three hours on top. That pacing matches the official "How Long to Beat" estimates on the Rehaunted on Steam store page, which lists a main story of around six hours and a completionist run of around ten.
The Rehaunted puzzle solutions experience comes down to one principle: the answer is always in the evidence, the evidence is always readable with the right tool, and the tool is always confirmable through the radio. Once that loop clicks, every Rehaunted safe puzzle, keypad, and clock face becomes a small, satisfying deduction rather than a wall, and the house stops feeling haunted by locks and starts feeling haunted by the case you are slowly solving.
Frequently Asked Questions
What is the fastest way to learn Rehaunted puzzle solutions as a new player?
Start every room with a UV flashlight sweep, inspect every readable surface with the magnifier, photograph anything that looks like a clue, and check the evidence board before you attempt any lock. The walkie-talkie dispatcher will confirm when you have enough evidence to attempt a puzzle, which prevents wasted attempts and is the fastest way to internalize the Rehaunted how to solve puzzles loop on a first run.
Do the puzzle answers change between runs in Rehaunted?
The structure of the answers stays consistent, but the order and exact values of individual digits or words shift between runs because they are tied to the evidence you collect first. This is why community veterans recommend learning the deduction workflow rather than memorizing specific Rehaunted all puzzle solutions answers, because the workflow survives any run order.
Where do I find the Rehaunted safe code?
The Rehaunted safe code is built from a UV reading on the dial, a magnifier pass on a nearby document, a photo that gets linked on the evidence board, and a walkie-talkie confirmation. You will not see the full four-digit code until all four clues are linked, which is why the safe is the canonical example of a compound puzzle in any Rehaunted puzzle guide.
Can I brute-force locks if I get stuck?
You can attempt each lock a small number of times, but failed attempts consume in-game time and can trigger audio cues that escalate tension. The safer approach is to reload a recent save, double-check that the evidence board is fully linked, and wait for the walkie-talkie dispatcher to confirm before retrying, which is the same workflow used to clear optional Rehaunted safe puzzle chains without soft-locking the run.
What is the single biggest beginner mistake with Rehaunted puzzle solutions?
Skipping the evidence board and trying to solve locks directly from room clues. The board is what turns scattered fragments into a usable answer, and players who treat the board as optional will frequently get stuck on locks that the radio dispatcher would have warned them were not yet solvable.