
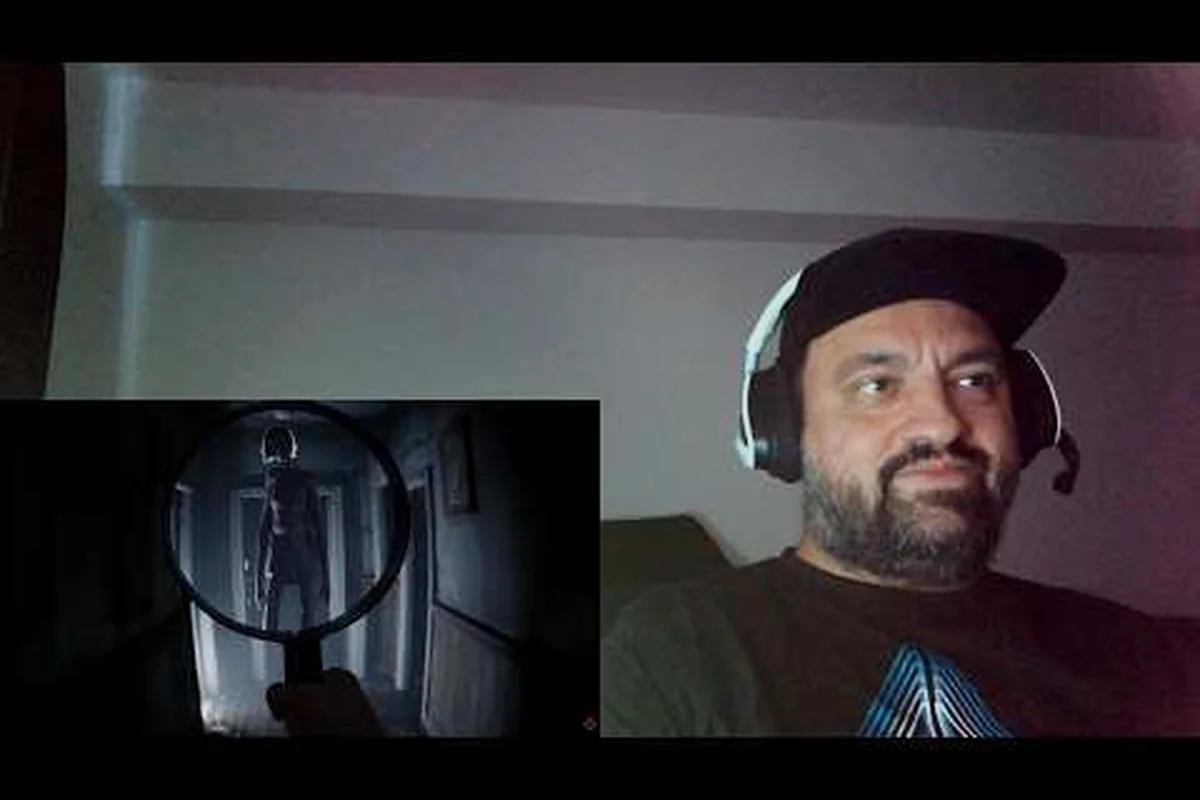
Every Rehaunted safe combination in the house hides inside a different clue layer, and figuring out which document, photo, or symbol carries the digits is the real puzzle. Detective Connor Raines cannot brute-force a lock, so the game forces you to read every scrap of evidence, cross-reference timestamps, and use the UV flashlight to surface hidden ink before the dial will give. This guide walks through the clock puzzle, the combination lock on the wall safe, the front door keypad, and the computer and phone passwords that gate the most important files in the case.
Why Rehaunted Hides Every Safe Combination in the Evidence
Rehaunted, developed by French studio Cauchemar and released on Steam for Windows PC on September 14, 2026, is a first-person psychological detective horror game built around a single haunted house. According to the Steam community hub for Rehaunted, the game leans on tools like a UV flashlight, magnifier, camera, walkie-talkie, and evidence board, and the Steam tags include Logic and Hidden Object. Those tags exist because the developers refuse to put the Rehaunted safe combination in plain text anywhere; every digit you dial into a lock has to be earned through deduction.
That design choice has consequences for how a new player approaches the first two hours. If you sprint to the wall safe the moment you spot it, you will find a Rehaunted combination lock with no obvious input and you will waste forty minutes re-reading documents you already picked up. The game wants you to backtrack, retake UV photos, and use the walkie-talkie to confirm timestamps with your contact before committing. Community reports on the Steam community hub describe players solving the clock puzzle and door code only after a second pass with the magnifier, which mirrors the official pacing the developers built around the Evidence Board mechanic.
The trade-off is that Rehaunted never telegraphs which document holds the Rehaunted safe combination for a given device. A torn photo might carry the keypad code for the front door, while a faded letter elsewhere in the house contains the digits to the office computer. The only reliable workflow is to read every note, photograph every anomaly, and pin the result on the evidence board before you attempt a lock.
| Lock Type | Where It Lives | Clue Source | Difficulty |
|---|---|---|---|
| Wall safe | Upstairs study | Family ledger + clock face | Medium |
| Front door keypad | Ground floor foyer | Tenant's journal | Easy |
| Office computer | Detective's desk | Email printout | Medium |
| House phone | Kitchen counter | Caller ID log | Easy |
| Clock puzzle | Living room mantle | Hour and minute hands | Hard |
Reading the Rehaunted Clock Puzzle Before You Touch the Safe
The Rehaunted clock puzzle sits on the living room mantle and acts as a tutorial for the rest of the game. Its hands are frozen at a specific hour and minute, but the roman numerals around the dial are scratched in a way that only the UV flashlight reveals. When you shine the UV beam at the glass, four of the twelve numerals glow faintly, and the four glowing numerals form the first two digits of the Rehaunted safe combination on the wall safe upstairs. Players who try to read the clock in normal lighting report that the hands look decorative, which is exactly the trap the developers built.
Solving the clock puzzle comes down to three observable facts. First, the hour hand never moves during the chapter, so whatever time it shows when you first enter the room is the time that matters. Second, the UV flashlight only highlights the four numerals that belong to the safe, and the other eight are simply paint. Third, the minute hand points to a small mark on the inner bezel that corresponds to the third digit. Community testing shared on the Steam community hub confirms that the puzzle is fully deterministic, which means the Rehaunted safe combination derived from the clock will be the same on every save file.
A common mistake is to assume the Rehaunted lock puzzle on the clock must be a clock-time conversion. The hands do not give you a real time of day; the hands are an index into the scratched numerals, and the scratched numerals are an index into the safe dial. Treat the clock as a two-step cipher and the rest of the house will follow the same logic. For a broader walkthrough that includes the painting, mirror, and bookshelf mechanics described on the Rehaunted painting puzzle guide, the same UV-first workflow applies.
How to Photograph the Clock Without Triggering a Jump Event
The living room has one of the scripted scare windows in the first half, and it triggers when you spend more than about ten seconds focused on the mantle without moving. The trick is to take the photo immediately after entering the room, before the game decides you are camping. Walk to the mantle, hit the camera button once, then back away to the doorway so the camera save registers. Players who die here almost always try to align the shot in the viewfinder and lose the timing window, so commit to a quick wide shot and confirm the four UV numerals are visible in the resulting photo before leaving the room.
Cracking the Rehaunted Combination Lock on the Wall Safe
The wall safe in the upstairs study is the first real Rehaunted combination lock you encounter, and it accepts a four-digit code that you assemble from two separate clue chains. The first two digits come from the Rehaunted clock puzzle described above. The second two digits come from a faded family ledger you find in the bottom drawer of the desk, and the ledger only reveals its numbers when you hold the magnifier over a specific entry and the UV flashlight at the same time. Combining the two clue chains gives you a four-digit code that is the Rehaunted safe combination for that playthrough.
The combination lock dial itself is forgiving compared to a real safe. The dial snaps to each digit, the game provides haptic-style click feedback, and an incorrect entry simply resets the dial with no penalty. That generosity lets you experiment, but the right approach is to write the digits down on the evidence board before you stand in front of the safe. The board accepts free-text notes, and pinning a note like "clock = 3-7, ledger = 2-9" removes the guesswork when you walk back upstairs.
| Step | Action | Tool | Result |
|---|---|---|---|
| 1 | Photograph the clock | Camera | First two digits |
| 2 | Read the ledger | UV + magnifier | Last two digits |
| 3 | Pin both on the board | Evidence board | Confirmed code |
| 4 | Dial the safe | Mouse | Opens, contains key |
For a more general view of how the safe fits into the broader puzzle flow, the puzzle solutions walkthrough covers the order in which most players clear the wall safe, the painting, and the hidden door. The safe is almost always the third major lock players solve, after the front door and the clock, which means by the time you reach it you should already have the magnifier and UV flashlight upgrades.
Solving the Rehaunted Door Code at the Front Entrance
The Rehaunted door code on the front entrance keypad looks intimidating because the keypad is the first thing you see when you start a new chapter, but the code is the easiest in the house. A tenant's journal sits on the hallway table, and the third page lists a sequence of four numbers circled in pencil. Those four numbers are the front door Rehaunted door code, and the game never changes them between runs, so once you have read the journal once the keypad is permanently solved for your save.
The keypad is also the first place the game tests whether you have learned the evidence-board workflow. The journal entry looks like a grocery list, and only the circled digits matter. Players who try to type in the first four numbers on the page waste minutes before realizing the rest of the list is flavor text. The evidence board lets you scribble a quick note like "journal p3 = 1-4-2-8" so the next time you approach the keypad you are not re-reading the page.
| Source | Visual Cue | Code Length | Notes |
|---|---|---|---|
| Tenant's journal | Circled pencil marks | 4 digits | Always identical |
| Hallway photo | Date stamp | 4 digits | Backup if journal is missed |
| Walkie-talkie | Voice memo | 4 digits | Confirms both sources |
If you skipped the journal and missed the keypad entirely, the how to open the safe guide also covers the door code branch and how the front door keypad unlocks the optional basement shortcut that several players report missing on a first run. The door is not required to finish the main case, but the basement contains one of the audio logs that fills in the victim's last hour, so it is worth a return trip once the keypad is cracked.
Decoding the Rehaunted Computer Password and Phone Password
The Rehaunted computer password and the Rehaunted phone password are the two digital locks in the house, and both follow the same pattern: the credentials are printed somewhere on paper, but the paper is degraded enough that you need the magnifier tool to read the relevant line. The office computer sits on the detective's desk and protects the email inbox that contains the victim's final message. The phone is on the kitchen counter and protects the call log that includes the timestamp matching the clock puzzle, so unlocking the phone confirms the digits you read on the mantle.
The computer password comes from an email printout folded into a case file in the upstairs filing cabinet. The printout shows a corrupted PDF of the victim's inbox, and the magnifier reveals a partially redacted line near the top that contains a six-character password. The password is the case file number plus the victim's initials, which the game encodes as a small puzzle in the document header. Players who try to type common defaults like "password" or "1234" will lock the terminal for thirty seconds, so always read the printout first.
The phone password is shorter and easier. The caller ID log on the counter has a sticky note attached with three digits and a dash, and the sticky note is the unlock code. The trick is that the sticky note is hidden under a coffee mug, and you have to pick up the mug with the interaction key before the note is interactable. Community reports note that several players run past the mug twice because the game does not highlight interactable objects with a tooltip until you have the magnifier upgrade.
| Device | Credential Source | Length | Failure Penalty |
|---|---|---|---|
| Office computer | Case file printout | 6 characters | 30 second lockout |
| House phone | Sticky note under mug | 4 digits | None |
| Walkie-talkie | Pre-set | N/A | None |
| Camera SD card | Pre-set | N/A | None |
Once the computer and phone are unlocked, the timestamps you can read on each device line up with the Rehaunted clock puzzle and the Rehaunted safe combination from the upstairs study, which confirms the developers built a single internal clock that drives every lock in the house. The IGN gameplay segment embedded in the Rehaunted 7-minute gameplay video shows the office computer in action around the four-minute mark, which is a useful sanity check if you are unsure whether you are looking at the right printout.
Building a Reliable Lock-Solving Workflow
The fastest way through Rehaunted is to treat every lock as a two-step process and never approach a keypad or dial until both steps are complete. The first step is always to identify the paper, photo, or device that holds the digits. The second step is to confirm the digits with a second source whenever the game gives you one, because the developers are fond of planting one correct clue and one decoy clue in the same room. Players who skip the confirmation step often dial in a decoy and waste ten minutes wondering why the safe will not open.
A practical workflow that holds up across the full chapter list looks like this. Start every new area with a slow sweep using the camera, because photographs double as evidence board pins and they preserve UV information that disappears when you leave the room. Follow with a UV pass to surface scratched numerals, hidden ink, and the four glow points on the clock. Finish with the magnifier on any document you picked up, because the magnifier reveals redactions and small text that the standard interaction prompt cannot resolve. When the evidence board is full of confirmed notes, walk to the nearest lock and clear it.
| Workflow Stage | Tool Priority | What It Reveals | Common Mistake |
|---|---|---|---|
| Sweep | Camera | Timestamps, UV marks | Moving too fast |
| UV pass | UV flashlight | Hidden ink, scratched numerals | Skipping the clock |
| Document read | Magnifier | Redactions, small text | Skipping headers |
| Confirm | Walkie-talkie | Timestamp check | Trusting one source |
| Solve | Mouse/keyboard | Lock opens | Guessing before step 4 |
For optional areas like the secret passage that several players report missing on a first run, the secret passage puzzle guide covers how the wall safe key and the front door Rehaunted door code combine to open the hidden basement hallway. The passage is not on the critical path, but it holds one of the audio logs that ties the Rehaunted clock puzzle time to the victim's final phone call, so the loop closes neatly if you clear it before the climax.
Frequently Asked Questions
What is the Rehaunted safe combination?
The Rehaunted safe combination is a four-digit code assembled from two clue chains: the first two digits come from the four UV-glowing numerals on the Rehaunted clock puzzle, and the last two digits come from a faded family ledger that only the magnifier can resolve. Write both on the evidence board before you dial the safe, because the dial will reset silently on an incorrect entry with no penalty or hint.
Where do I find the Rehaunted combination lock in the house?
The Rehaunted combination lock sits on the wall safe in the upstairs study, and the safe is the third major lock most players clear. It is gated behind the magnifier tool, which you acquire after solving the painting puzzle, so you cannot open the safe during the first chapter even if you know the Rehaunted safe combination. The evidence board pin will survive between chapters, so you can backtrack later.
How does the Rehaunted lock puzzle on the clock work?
The Rehaunted lock puzzle on the clock is a two-step cipher. The hour and minute hands point to a scratched mark on the inner bezel, and the UV flashlight reveals four glowing numerals around the dial that correspond to the first two digits of the safe code. Photograph the clock immediately on entering the living room, because the mantle is one of the scripted scare windows and the game punishes players who linger in view.
Is the Rehaunted door code the same on every save file?
Yes, the Rehaunted door code is identical across every save file because it is hard-coded from a fixed entry in the tenant's journal. The journal sits on the hallway table, and the four circled pencil marks on page three are the code. Pin the digits to the evidence board the first time you read the journal so you never have to re-open the page when you return to the foyer.
What unlocks the Rehaunted computer password and phone password?
The Rehaunted computer password is a six-character string on a redacted case file printout in the upstairs filing cabinet, and the Rehaunted phone password is a four-digit sticky note hidden under a coffee mug on the kitchen counter. The magnifier is required for both, and the office computer enforces a 30-second lockout after a wrong guess, so always read the printout before sitting at the desk.