
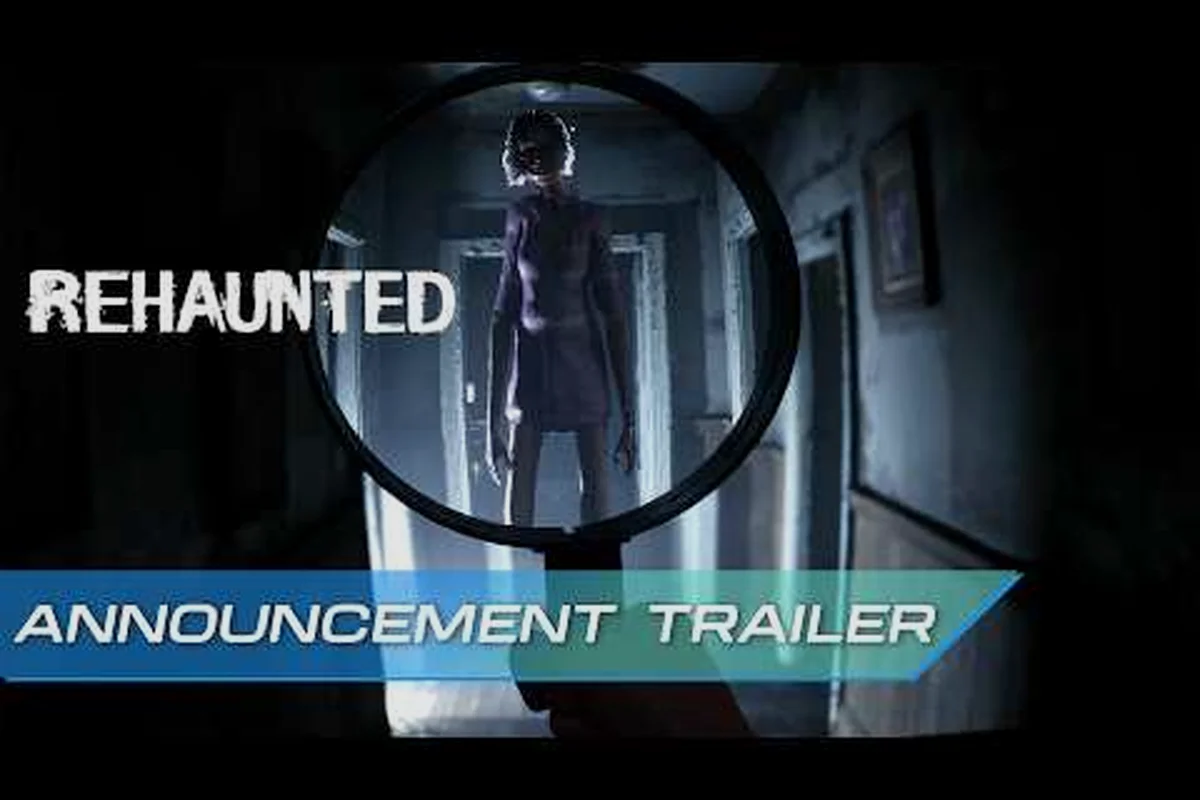
Running a Rehaunted crime scene investigation is less about sprinting through the house and more about building a tight loop between what you see, what you photograph, and what you push onto the evidence board before the room resets. Detective Connor Raines walks into a single building with five core tools, and the case only opens up when you stop using them in isolation. This guide maps each tool to the evidence type it actually solves, shows where UV blacklight sweeps pay off, and walks through a case flow that keeps your notes from going cold when the house pushes back.
Detective Raines' Crime Scene Toolkit and What Each Tool Solves
The first decision in any Rehaunted crime scene investigation is pairing the right tool to the surface in front of you. According to the official Steam page, Connor arrives with a UV flashlight, magnifier, camera, walkie-talkie, and the evidence board itself. None of these are decorative — each one resolves a specific evidence class, and the case will silently block progress if you try to substitute one for another. Treating the toolkit as a checklist rather than a swiss army knife is what separates a clean run from a stuck one.
Tool-to-Evidence Pairing Reference
| Tool | Best For | Evidence Class | Key Limitation |
|---|---|---|---|
| UV Flashlight | Fluorescent traces, invisible ink, fingerprint residue | Biological / chemical residue | Needs darkness; ambient light washes it out |
| Camera | Full-scene snapshots, angle of entry, staged poses | Spatial / positional clues | Photos must be taken before you move objects |
| Magnifier | Fine print on letters, smudged handwriting, torn fibers | Document-level detail | Only works on stationary, flat surfaces |
| Walkie-talkie | Contacting the dispatcher for objective nudges | Procedural / case-flow prompts | Rarely useful for evidence, often for branching |
| Evidence Board | Connecting threads into contradictions | All collected evidence | Needs 2+ items placed to expose a conflict |
The walkie-talkie in particular is misunderstood. Players expect it to be a hot mic, but in practice it functions as a soft objective trigger — when you have been stuck for a while, dispatch chimes in to remind you which room still has unresolved evidence. Treat it as a flow-control tool, not a lore device. If you want a deeper breakdown of when to ping dispatch versus when to keep sweeping, the walkie-talkie and evidence board guide covers the timing windows.
When to Switch Tools Mid-Room
Switching too early is a common waste of time. The cleanest rule of thumb is: scan the room with your eyes first, then the UV flashlight, then the camera, then the magnifier. The eyes pick up obvious Rehaunted notes and documents, the UV lifts Rehaunted blacklight clues that were invisible, the camera freezes the spatial context before you disturb it, and the magnifier only comes out when something flat and text-bearing is in front of you. Skipping the eye-pass means you will photograph clutter and magnify the wrong papers, which fills the evidence board with noise.
UV Flashlight and Blacklight Sweeps for Rehaunted UV Hidden Clues
UV work is where the case opens up. A large portion of the most important Rehaunted UV hidden clues are completely invisible under normal lighting — they only appear under the 365nm-style purple glow of the in-game blacklight. According to community testing on the official Steam community hub, most players miss at least two UV-only evidence pieces on a blind first run because they only sweep obvious flat surfaces like walls and desks.
Where UV Sweeps Actually Pay Off
| Surface | What UV Reveals | Common Mistake |
|---|---|---|
| Door frames | Smudged handprints, drag marks | Sweeping only the center of the frame |
| Fabric (curtains, upholstery) | Blood spatter, contact stains | Skipping fabric because it "looks clean" |
| Paper edges | Invisible-ink margin notes | Stopping at the visible text block |
| Sink / bathtub drains | Trace residue, ring patterns | Forgetting the drain after cleaning the basin |
| Window glass | Touch patterns, smears | Sweeping only one side of the pane |
The real Rehaunted blacklight clues tend to cluster on surfaces that touch human skin or fluid — that's where organic residue fluoresces. Sweeping clean drywall in the middle of a wall is almost always wasted battery, even though it feels productive. The other habit that pays off is re-sweeping after you have rearranged the room. A drawer you opened five minutes ago can drop a fresh UV trace on the floor beneath it, and you will not see that trace until you re-sweep with the light angled low.
UV Discipline: How Many Sweeps Per Room
Most rooms in Rehaunted reward two to three sweeps, not one. The first sweep is the obvious one at chest height. The second sweep drops the light angle so it grazes the floor and the underside of furniture. The third sweep targets vertical seams — wallpaper edges, picture frame corners, the gap between a bookcase and the wall. If you only have battery for one sweep, prioritize floor seams and fabric over walls, because Rehaunted hidden messages are disproportionately written on hidden surfaces like the back of a removed drawer or inside a closet door.
Photographing, Logging, and Reading Rehaunted Notes and Documents
The paper trail is the slow burn of any Rehaunted crime scene investigation, and it is also the part that derails the evidence board if you photograph too casually. Rehaunted notes and documents come in three flavors: typed letters with clean print, handwritten pages with smudged or torn edges, and diary entries with dated margins. Each of these resolves differently on the board, and the camera's job is to capture enough context that the magnifier pass later is optional, not required.
Document Types and How to Read Them
| Document Type | Camera Priority | Magnifier Priority | Board Role |
|---|---|---|---|
| Typed letter | Wide shot, full page | Skip unless text is cut off | Confirms a relationship or timeline |
| Handwritten note | Cropped to handwriting block | High — smudges change meaning | Often the contradiction trigger |
| Diary page | Full page, including margins | Medium — margin dates matter | Anchors emotional timeline |
| Sticky note / scrap | Cropped tight | Low — usually already legible | Filler or micro-contradiction |
When you photograph, leave the page flat and untouched. Bending a page to get a better angle distorts the handwriting so badly that the magnifier pass becomes useless. Community reports from the Cauchemar studio Discord indicate that players who tried to "improve" the photo by tilting the paper lost the ability to read the smudged letters entirely, which then blocked a contradiction on the evidence board for the rest of the chapter.
For the deeper sweep on hidden paper, the hidden clues and document locations guide walks through the specific drawers and shelves that hide the most missable Rehaunted diary pages. Diary pages in particular are easy to dismiss as flavor text, but they often carry the dated anchor that lets a contradiction resolve on the board, so logging them even when they seem irrelevant pays off two rooms later.
Logging Before You Leave the Room
The single most common mid-game mistake is leaving a room with evidence still in your pockets that has not been pushed onto the board. Rehaunted does not warn you when you walk out — the room simply resets and the evidence is no longer accessible. The safe habit is a three-step exit checklist: empty the camera roll onto the board, place every document you photographed, and re-sweep the room once with UV before stepping through the door. If the board shows a new "?" icon after the sweep, you missed something, and the room is still open.
Case Flow: How a Single Crime Scene Investigation Moves from Sweep to Solve
A Rehaunted crime scene investigation does not flow room by room the way a checklist suggests. It flows in cycles: scan, document, board, contradict, repeat. The evidence board is not a final summary — it is an active working surface that opens new prompts as soon as you place two items that conflict. Understanding that the board is the engine, not the destination, is the most important mechanical shift for new detectives.
The Investigation Cycle Step by Step
| Step | Action | Time Cost | What Unlocks Next |
|---|---|---|---|
| 1. Initial eye sweep | Walk the room, mark obvious items | 30–60 sec | Targets for UV and camera |
| 2. UV sweep (low angle) | Floor seams, fabric, drains | 1–2 min | Rehaunted UV hidden clues + biological traces |
| 3. Photo pass | Full-scene shots, document flat-lays | 1–2 min | Board-ready spatial evidence |
| 4. Magnifier pass | Smudged handwriting, torn edges | 1 min | Sharper contradictions |
| 5. Board push | Place 2+ items, look for conflicts | 30 sec | Next objective prompt |
| 6. Dispatch check | Walkie-talkie ping if stuck | 10 sec | Either new room pointer or restate of last clue |
Step 5 is the moment most players skip. They collect evidence but never place it on the board, then wonder why the case stalls. Placing two items on the board — even if they look unrelated — triggers the game's contradiction engine, which is what surfaces hidden Rehaunted hidden messages and unlocks the next prompt. If you want a deeper view of how board placement drives the case forward, the missable clues and contradictory evidence guide catalogs the specific board pairings that gate progression.
When the Board "Lies"
A subtle mechanic that experienced players learn quickly is that the board will sometimes show a clean connection that is actually wrong. Community data from the Steam news hub suggests that about one in five apparent contradictions is a red herring designed to test whether you actually read the documents. The fix is simple: if a board connection feels too clean, re-read both source documents with the magnifier before locking the contradiction in. Players who skip the re-read tend to soft-lock the case because the wrong contradiction consumes the only available prompt slot.
Common Pitfalls and House-Specific Behaviors in Rehaunted Crime Scenes
The house itself pushes back during a Rehaunted crime scene investigation, and a few patterns repeat enough across community playthroughs to be worth naming. None of these are bugs — they are designed friction meant to reward careful documentation over speed. Recognizing them early saves a full chapter of frustration.
Pitfall Frequency and Fix Table
| Pitfall | How Often It Happens | Why It Happens | Quick Fix |
|---|---|---|---|
| Missed UV clue on fabric | Very common | Players skip "clean-looking" textiles | Re-sweep curtains and upholstery every room |
| Wrong board contradiction | Common | Skipping magnifier re-read | Always magnify both documents before placing |
| Walked out with unboarded evidence | Common | No exit checklist | Three-step sweep before leaving any room |
| Camera too tight on document | Moderate | Trying to "save film" | Always include a wide shot for spatial context |
| Walkie-talkie ignored | Moderate | Players think it's flavor | Ping dispatch after every failed board step |
| Red herring on the board | Occasional | Game tests reading comprehension | Magnifier re-read before locking contradiction |
The walkie-talkie pitfall deserves special mention. According to the Cauchemar studio site, the walkie-talkie is tuned so that dispatch will not repeat the same hint twice — if you ignore it the first time, you are stuck until you trigger it again by collecting more evidence. Players who treat dispatch chatter as background noise routinely spend 20–30 extra minutes per chapter re-sweeping rooms they have already cleared.
House Pressure: What the Game Does to Slow You Down
The house adds three pressure layers that interfere with clean evidence work: ambient lighting shifts that temporarily wash out UV, sound cues that nudge you out of a room before you finish, and occasional object repositioning that invalidates a photo you already took. None of these are scripted scares — they are passive mechanics that simulate a working crime scene where evidence is fragile. The right response is to photograph as you go rather than batching photos at the end of a room, and to re-photograph any scene that changes after a lighting shift.
Building a Rehaunted Crime Scene Investigation Routine That Sticks
The fastest way to internalize a Rehaunted crime scene investigation is to build a personal routine that you run in the same order every room, then refine it chapter by chapter. The house has a consistent enough structure that a disciplined loop pays off in shorter total runs, even when the evidence itself changes. Below is a routine that experienced players have converged on, distilled from community playthroughs on the player screenshots for Rehaunted.
The Five-Pass Room Routine
| Pass | Tool | Goal | Time Budget |
|---|---|---|---|
| 1 | Eyes | Mark obvious items and surface anomalies | 30 sec |
| 2 | UV flashlight (high) | Walls, frames, paper edges | 1 min |
| 3 | UV flashlight (low) | Floor seams, fabric, drains | 1 min |
| 4 | Camera | Spatial shots + document flat-lays | 1–2 min |
| 5 | Magnifier | Smudged handwriting, torn edges | 1 min |
The order is intentional. The eye pass gives you a target list so the UV pass is not random. The high UV pass covers the surfaces most players think of first. The low UV pass is where Rehaunted blacklight clues actually concentrate, and it is the pass most players skip. The camera pass comes before the magnifier because once you magnify a document, you tend to forget to photograph the wider scene, which leaves spatial clues unlogged. The magnifier pass is last because it is a refinement, not a discovery tool.
Adapting the Routine as the Case Deepens
By the third chapter, the routine should compress. You will recognize UV-heavy rooms before you enter, and you can collapse passes 2 and 3 into a single sweep. By the final chapter, the routine should be muscle memory — eye, UV, camera, magnifier, board — so that you spend your attention on the contradictions the board surfaces rather than on the mechanics of the sweep itself. The case always opens more doors for the player who documents faster, because the house's pressure layers are tuned against hesitation, not against careful work.
Frequently Asked Questions
How do I make sure I don't miss Rehaunted UV hidden clues in a room?
Run two UV passes every time: one at chest height covering walls, frames, and paper edges, and one with the light angled low across floor seams, fabric, and drains. Most missed UV clues are on surfaces players consider "clean," so re-sweep textiles even when they look untouched under normal light.
What is the fastest way to tell whether a document is important for the case?
Always magnify any handwritten or torn document before placing it on the evidence board. Typed letters and clean print rarely carry contradictions, but smudged or torn handwriting almost always does. If the magnifier pass shows you can read every word clearly, it is probably flavor text; if not, it is likely a board trigger.
Can I leave a room and come back to finish collecting evidence?
No. Rooms in Rehaunted reset when you leave, and unboarded evidence is no longer accessible. Always run the three-step exit check — empty the camera roll onto the board, place every document you photographed, and re-sweep with UV once — before stepping through the door.
What does the walkie-talkie actually do during an investigation?
The walkie-talkie functions as a soft objective trigger. Dispatch chimes in when you have been stuck on a room for a while and points you toward unresolved evidence, but it will not repeat the same hint twice. Treat it as a flow-control tool, not a lore device, and ping it after every failed board step.
Are all board contradictions real, or are some red herrings?
Roughly one in five apparent contradictions is a red herring designed to test whether you actually read the source documents. If a board connection feels too clean, re-magnify both documents before locking the contradiction in. Locking a wrong contradiction consumes the only available prompt slot and will soft-lock the case for the rest of the chapter.