
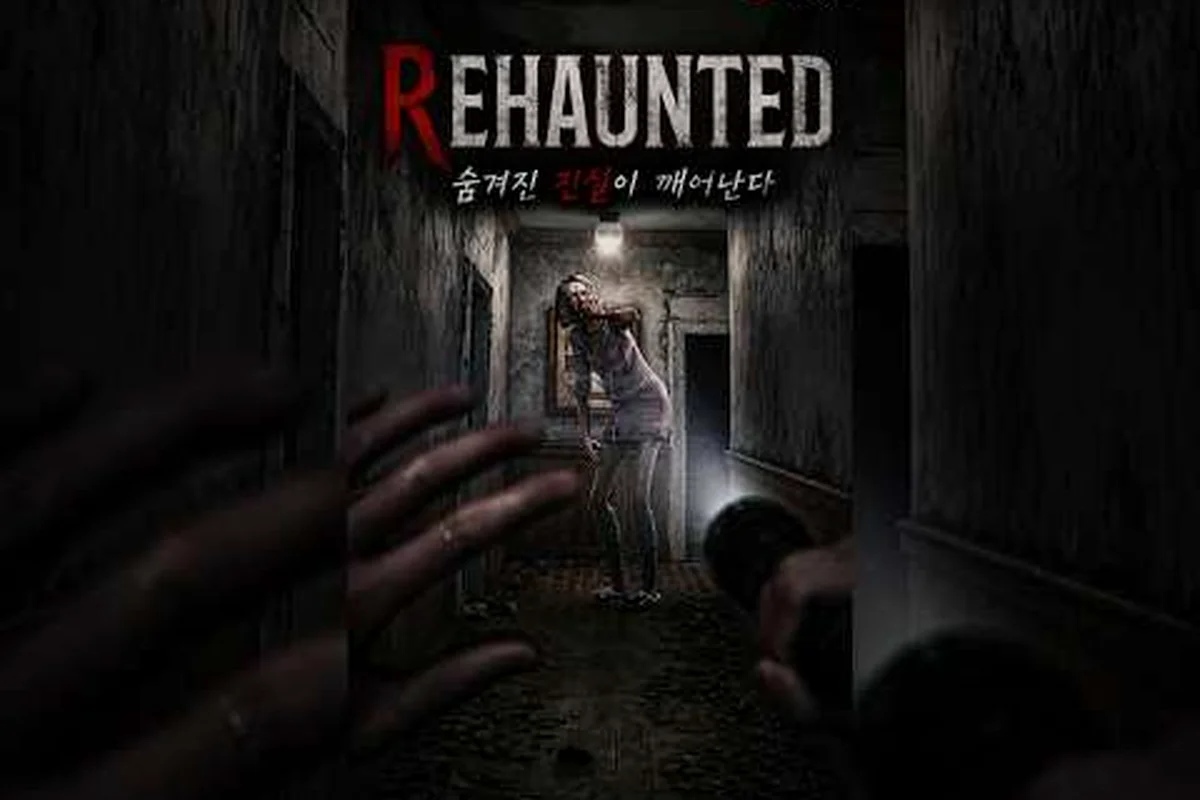
Why Each Tool Stops Responding in Rehaunted
In Rehaunted, every investigative step depends on the correct instrument being aimed at the correct surface, and the moment a tool stops reacting, the investigation loop stalls. Players searching for Rehaunted tools not working are almost always dealing with one of five recurring situations: a UV flashlight that produces no glow, a magnifier that refuses to snap, a camera that shows nothing, a walkie-talkie with no static, or a detective notebook that refuses to register a clue. The fastest path back to a working investigation is matching the instrument to the material it is designed to read, because each tool in this first-person psychological detective horror game is gated by an interaction rule, not by raw availability.
The five core instruments available to detective Connor Raines are the UV flashlight, the magnifier, the camera, the walkie-talkie, and the detective notebook, and each one is tied to a specific evidence type inside the house. The UV flashlight reads luminescent residue on walls and door frames. The camera captures anomalies that flicker in and out of view. The magnifier reveals micro-detail on physical objects. The walkie-talkie pulls in radio dialogue that hints at unseen events. The detective notebook records every clue you collect and ties it to a line of inquiry. When a tool seems unresponsive, the cause is usually a mismatch between the tool you are holding and the surface you are looking at, not a game-breaking bug.
A clean way to think about the system: tools are verbs, not nouns. They do something to a specific target, and the target must be in range, in focus, and of the right type. Once that mental model is in place, almost every "not working" report resolves within seconds. The remainder of this guide walks through each instrument, the exact reason it can stall, and the fastest way to get it responding again without restarting the session.
| Tool | Primary Target | Common "Not Working" Cause | Fastest Fix |
|---|---|---|---|
| UV Flashlight | Luminescent stains | Battery drained or wrong target | Recharge at the wall mount |
| Camera | Flickering anomalies | Anomaly out of frame | Re-frame and wait for the flicker |
| Magnifier | Small physical objects | Object not held or wrong range | Pick up item first, then aim |
| Walkie-Talkie | Static bursts | Not tuned to the right frequency | Cycle channels on the device |
| Detective Notebook | Collected clues | Notebook not opened | Press notebook key to register clue |
The UV Flashlight and Rehaunted Flashlight Battery Problems
The UV flashlight is the most frequent culprit when players report Rehaunted tools not working, and almost every case traces back to Rehaunted flashlight battery drainage or to aiming the beam at a non-reactive surface. The UV light does not illuminate the room like a standard flashlight; it only reveals residue that has been coded to react under its specific wavelength. Staring at an empty wall, a clean floor, or a surface with no prior story event will produce zero visible response, which many players interpret as a broken tool.
The battery is a finite resource that depletes with continuous use, and there is no on-screen fuel gauge in the standard HUD. Instead, the beam itself is the indicator: when the UV flashlight is nearly drained, the cone becomes visibly thinner and the residue patches stop pulsing. According to community reviews for Rehaunted, the UV flashlight is one of five instruments that drive the investigation loop, and community testing confirms that players who conserve the beam for high-value targets get noticeably more progress per cycle. A wall-mounted charging cradle near the entry hall of the house restores the battery fully within a few seconds.
A second failure mode is aim. The UV flashlight needs to be pointed at the floor strip directly in front of the player's feet or at a wall patch within roughly two meters. Aiming at the ceiling, at distant furniture, or at reflective glass does nothing, because those surfaces carry no luminescent code. Players who sprint through a room and sweep the beam from side to side often report the tool as broken when in reality the beam passed over the reactive strip too quickly for the visual change to register.
Recharging the UV Flashlight
To recharge, walk to the wall mount near the front door of the house, hold the UV flashlight, and press the interact key while looking at the cradle. A short animation plays, the beam returns to full width, and the tool is ready to scan again. There is no cooldown after recharging, and the cradle can be used as many times as needed during a session.
Reading Residue Correctly
Residue patches are short-lived visual markers that appear after scripted events, such as a door opening on its own or a shadow crossing a hallway. They pulse softly for a few seconds and then fade. The UV flashlight only reveals them while the pulse is active, so timing matters as much as aim. Standing still and tracking a single wall patch for three to four seconds is usually enough to catch the reveal window.
| UV Flashlight Symptom | Likely Cause | Action |
|---|---|---|
| Beam is thin and dim | Battery nearly drained | Recharge at wall mount |
| No glow on a clean wall | Surface is non-reactive | Move to a marked zone |
| No glow after an event | Residue already faded | Reload the room or wait for next event |
| Tool does not equip | Another tool is held | Open tool wheel and select UV |
The Walkie-Talkie, Radio Dialogue, and Dialogue Options
The walkie-talkie is the second most common source of "not working" reports, because the device behaves very differently from the other instruments. Players searching for Rehaunted how to use the radio are often surprised to learn that the walkie-talkie is not a push-to-talk tool; it is a passive receiver that scans the airwaves for scripted transmissions. Pulling it out and pressing the talk button does nothing, because the dialogue is delivered by the environment, not by the player. This is the single biggest reason players flag Rehaunted tools not working after a few hours of investigation.
When the device is working correctly, the player hears fragments of Rehaunted radio dialogue that include half-sentences, static, and occasional names. These fragments are clues, and the goal is to log each one in the detective notebook before the transmission repeats. The walkie-talkie is also the only tool that gates Rehaunted dialogue choices later in the case, because the radio contacts occasionally ask Connor direct questions, and the player's response determines which lead opens up next.
The way to "use" the radio is to equip it, hold it at hip level, and walk slowly through the house. The device reacts to specific rooms, and the strongest signals come from hallways and stairwells where the house geometry channels the audio. Standing still in a corner rarely triggers a new transmission, which is another common reason players think the tool is dead.
Tuning to the Right Frequency
The walkie-talkie has three preset channels, and each channel corresponds to a different contact. Channel 1 is the dispatcher, channel 2 is a witness, and channel 3 is an unknown voice that appears late in the case. If a transmission never resolves, the player is almost always on the wrong channel. Cycling through all three while standing in a hallway for thirty seconds will produce at least one full line of Rehaunted radio dialogue in nearly every room of the house.
Logging Radio Clues in the Notebook
Every line of radio dialogue is automatically tagged as a clue, but the detective notebook only registers the clue after the player explicitly opens the notebook and confirms the entry. This is the most common cause of "the radio is broken" complaints: the player hears the line, the line ends, and no entry appears. Opening the notebook within a few seconds of the transmission and pressing the confirm key writes the clue to the case file and unlocks the next Rehaunted dialogue options branch.
| Walkie-Talkie Symptom | Likely Cause | Action |
|---|---|---|
| No audio at all | Wrong channel | Cycle through all three channels |
| Static only | Out of range of contact | Move to a hallway or stairwell |
| Line plays but no entry | Notebook not opened | Open notebook and confirm clue |
| Contact asks a question | Branching dialogue moment | Pick a Rehaunted dialogue option carefully |
The Detective Notebook and How Dialogue Choices Reshape the Case
The Rehaunted detective notebook is the connective tissue of the entire investigation, and when it appears unresponsive the entire case can grind to a halt. Players who search for Rehaunted dialogue choices or Rehaunted dialogue options quickly learn that the notebook is where those choices are tracked, scored, and surfaced as new leads. If a dialogue choice does not appear to do anything, the notebook is usually the missing link, not the radio or the contact.
The notebook has three core views: a clue list, a suspect map, and a timeline. The clue list is updated automatically as new evidence is collected, but only items the player has explicitly confirmed appear in the timeline. The suspect map draws lines between clues and the people named in them, and the timeline orders events in the order they were discovered. Players who skip the confirmation step often end up with a notebook that looks empty even after a long investigation session, which is another common trigger for "tools not working" reports.
A secondary issue is that some Rehaunted dialogue choices are only available if the player has already logged a specific clue. For example, a contact may ask whether Connor saw a particular mark on a door, and the "yes" response only appears if the UV flashlight scan was logged in the notebook beforehand. Choosing "I don't know" is a valid option, but it locks out a branch of the case. The notebook is therefore not just a journal; it is the gating system for the entire dialogue tree.
Confirming a Clue Correctly
To confirm a clue, open the notebook with the dedicated key, highlight the most recent entry, and press the confirm button. A short animation plays, the entry moves from the "pending" list to the "confirmed" list, and any dialogue tied to that clue unlocks immediately. The confirm step is irreversible, but it has no negative consequence, so confirming aggressively is the recommended approach.
Reading the Suspect Map
The suspect map draws a line between every confirmed clue and the name it implicates. When two clues point to the same name, a thicker line appears, and a thicker line raises the suspicion level for that person. Players who want to steer Rehaunted dialogue options toward a specific ending should focus on thickening one line at a time, because the dialogue tree rewards consistency over breadth.
| Notebook Symptom | Likely Cause | Action |
|---|---|---|
| New clue is missing | Not confirmed | Open notebook and confirm entry |
| Suspect map is empty | No confirmed clues yet | Confirm at least two clues per room |
| Dialogue option locked | Required clue missing | Review clue list and backtrack |
| Timeline looks wrong | Events logged out of order | Replay the most recent scene |
Camera, Magnifier, and the Tool Wheel Workflow
The camera and the magnifier round out the toolset, and both have failure modes that are easy to misread. Players who report Rehaunted tools not working after extended sessions are often cycling through tools too quickly or skipping the tool wheel entirely. The tool wheel is the central switcher for all five instruments, and the game does not auto-equip a tool based on context. The player must select the right tool, raise it, and then interact with the target.
The camera captures anomalies that flicker for a fraction of a second, and the trick is patience. Standing still, framing the center of a room, and waiting for a flicker is the only reliable way to get a clean shot. Aiming at a flicker that has already faded produces an empty photo, and the camera will silently discard the shot. The camera also has a limited number of exposures per session, so burning through film on empty frames is a common reason players run out before reaching a key clue.
The magnifier, by contrast, requires the target to be picked up first. Aiming the magnifier at a fixed object in the world does nothing; the object must be in the player's off-hand, and the magnifier must be in the dominant hand. Once both conditions are met, the magnifier reveals micro-detail such as serial numbers, scratch patterns, and faint writing. Many players who search for Rehaunted how to use the radio also benefit from a quick magnifier pass on the walkie-talkie itself, because the device carries a small etched label that becomes readable only under magnification.
Tool Wheel Hotkeys
The tool wheel is opened with a single key and cycles through the five instruments in a fixed order. Pressing the same key again closes the wheel without equipping, and pressing the interact key while a tool is highlighted equips it. The wheel is the fastest way to switch between the UV flashlight, magnifier, camera, walkie-talkie, and notebook, and players who rely on individual hotkeys for each tool often report "stuck" tools simply because the wrong key was pressed.
Pairing Tools for Tricky Details
The most effective workflow is to use the camera to capture the anomaly, then immediately pick up the nearest object and run the magnifier over it. This pairing unlocks a confirmation chain in the notebook that neither tool can produce alone. Players who skip the magnifier pass often end up with a confirmed photo but no matching physical clue, which weakens the suspect map and reduces the number of available Rehaunted dialogue options later in the case.
| Tool Pairing | Result | When to Use |
|---|---|---|
| Camera + Notebook | Confirmed anomaly entry | After every flicker |
| Magnifier + Notebook | Confirmed micro-detail entry | After picking up any item |
| Walkie-Talkie + Notebook | Confirmed radio clue | Within seconds of a transmission |
| UV Flashlight + Notebook | Confirmed residue entry | While the residue pulse is active |
Quick Diagnostic Checklist Before Restarting
Before resetting the session, run through a short diagnostic pass. Players who hit "Rehaunted tools not working" with any of the five instruments can usually resolve the issue in under a minute by checking the following points: is the correct tool equipped, is the target within range and of the right type, is the battery or film sufficient, is the notebook open to confirm the latest clue, and is the walkie-talkie tuned to the right channel. According to the official Cauchemar studio website, the five-instrument loop is intentionally tight, and the studio designed each tool to fail loudly when used incorrectly, so a stalled tool is almost always feedback rather than a bug.
If all five checks pass and the tool still does not respond, the next step is to leave the current room and re-enter it. Many of the reactive surfaces are tied to room-level scripting flags, and a fresh entry resets the flags and re-arms the residue, anomalies, and radio transmissions. This is the recommended fallback before considering a full restart, because it preserves the notebook entries and dialogue progress.
Where Tool Failures Stall the Case
Rehaunted is built around a tight feedback loop: pick a room, scan with the UV flashlight, photograph anomalies, magnify picked-up items, listen for radio dialogue, confirm every clue in the notebook, and respond to the next set of Rehaunted dialogue choices. Each instrument feeds the next, and the notebook is the hub that ties the loop together. Players who treat the tools as a single connected workflow rather than five separate gadgets find that "not working" reports drop sharply after the first hour, because the workflow itself becomes the diagnostic.
The investigation rewards patience and sequencing. Rushing through a room with the UV flashlight on full sweep will drain the battery before any residue patch is caught, and sprinting past a flicker with the camera raised will produce empty frames. Slowing the pace to a walk, confirming every clue in the notebook, and tuning the walkie-talkie carefully between rooms produces a steady stream of leads and unlocks the deeper Rehaunted dialogue options that gate the ending. The tools are designed to feel deliberate, and the case unfolds at the speed the player is willing to investigate. Pacing matters just as much as the tools themselves, and players who want to understand how each instrument reshapes the investigation can consult our Detective Equipment Guide to see which combinations accelerate the Rehaunted dialogue options that gate the ending.
Frequently Asked Questions
Why does my UV flashlight do nothing in Rehaunted?
The UV flashlight only reacts to luminescent residue on specific surfaces, and it does not illuminate empty walls or furniture. The Rehaunted flashlight battery also drains with use, so a thin or dim beam usually means it needs recharging at the wall mount near the front door. Aim at floor strips or wall patches that pulse softly, and the residue will reveal itself.
How do I use the radio in Rehaunted?
The walkie-talkie is a passive receiver, not a push-to-talk device, so equip it and walk slowly through hallways and stairwells. Cycle through the three channels until you hear a full line of Rehaunted radio dialogue, then open the detective notebook within a few seconds to confirm the clue. The radio is the source of most Rehaunted dialogue options later in the case.
Why is my detective notebook not logging new clues?
Every clue must be confirmed manually in the notebook before it appears in the timeline. Open the notebook, highlight the most recent pending entry, and press the confirm key. Without that step, even a confirmed radio transmission or a clean photograph will not register, and several Rehaunted dialogue choices will remain locked.
What do the dialogue choices and dialogue options actually do?
Dialogue choices and Rehaunted dialogue options are the same system: each contact question has two or three responses, and the response you pick opens a specific lead. Some options require a previously logged clue, so keeping the notebook current is the only way to keep every branch available. Picking "I don't know" is always safe but locks out a line of inquiry.
Can I restart an investigation without losing my notebook progress?
Yes, leaving a room and re-entering it resets the room-level scripting flags and re-arms the residue, anomalies, and radio transmissions while keeping every confirmed clue in the notebook. This is the recommended fix when a tool stops responding and the diagnostic checklist has not turned up a clear cause, and it avoids losing the Rehaunted dialogue choices already made.